
Since coding the basics in Part 1, I have been adding features to my kumiko program. My main goals have been to achieve better image quality and more expressiveness. In this post, I will explain some of the progress I’ve made and the challenges I faced.
Anti-Aliasing
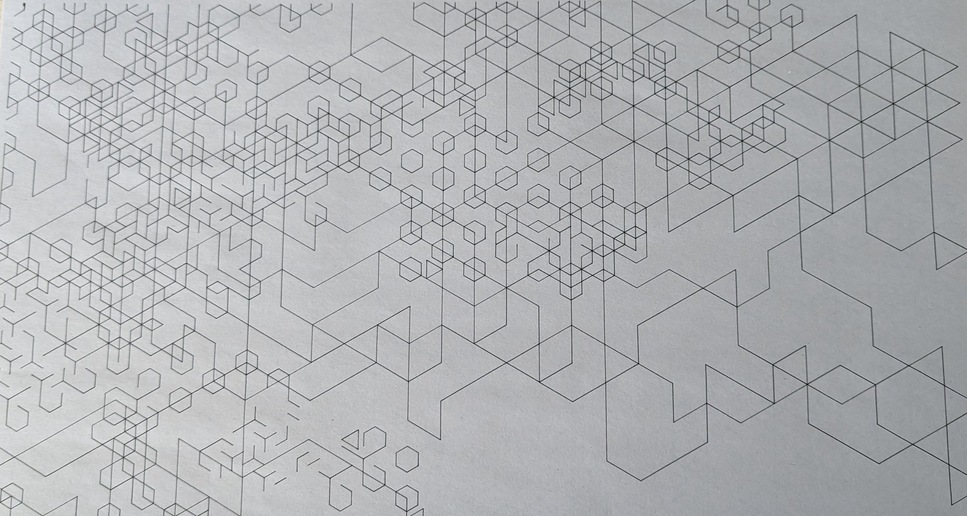
When drawing a line on physical media we perceive a sharp boundary between the edge of the line and the rest of the space, but when “drawing” a line that is displayed on a screen the boundary is constrained by the pixels that are used to represent it. If the pixel density is sufficiently high then we still perceive a sharp boundary, but this also depends on the line and how far the viewer is from the screen.
I am using Python Pillow (PIL fork) as the base library for creating the kumiko images. Pillow is great, but it doesn’t support anti-aliasing natively. By default, when Pillow draws a curve or a line between two points, the result is a sort of stair-step approximate fit of whatever the intended line was. This can be very obvious, but the effect can be reduced with a technique called anti-aliasing. There isn’t any way around the limitations of the pixels, but anti-aliasing adds a border on the sides of the line that smooths the transition between the line boundary and the rest of the image by using partially transparent pixels. The transparency appears to the eye as a smooth blending between a line and the area next to it, which looks cleaner and improves the overall image quality. I want to have some images printed eventually, so this is an important step toward producing output that will look good off of a computer screen.
Masking with AggDraw
Since Pillow doesn’t have any anti-aliasing functions, I had to find an alternative. I considered implementing Xiaolin Wu’s line algorithm, but decided to see if I could get the AggDraw library to work first. Doing the implementation myself sounded fun, but I had concerns about it being suited to future use-cases that required more complicated curves. Ultimately, AggDraw ended up being a better choice for multiple reasons. AggDraw is built as an extension of Pillow and supports anti-aliasing, but the downside is that its documentation is very sparse. After many hours of reading Stackoverflow posts, I finally figured out how to use AggDraw’s masking feature to achieve anti-aliasing for arbitrary shapes. Simply drawing all lines with anti-aliasing wasn’t enough because using AggDraw introduced a new problem. While Pillow allows for using fully transparent “ink” for lines, AggDraw does not. In other words, color selection is supported, but there is no alpha channel. Transparency is necessary to keep the ability to use a background color gradient or other background image that I had when using Pillow alone. The solution was to draw the image as usual, but in greyscale with anti-aliased lines, invert the mask, then paste the foreground image onto a transparent background over the mask. The resulting image can then be pasted onto the desired background. This way, colors are retained and all of the lines are as clean as possible.
I think of masking like using a stencil, and I suppose masking tape is so named because it allows for creating masks of various shapes on-demand. Essentially, the mask is the area that is protected from paint. After applying the mask and covering the entire area with paint, the mask is removed. With the multi-step greyscale process described above, white areas of the image are fully transparent, while black areas are fully masked. Pixels with a grey value between the extremes are partially masked, which achieves the anti-aliasing effect. In my implementation I found it convenient to invert the colors of the mask before using it, but another option would be to start with the opposite colors for the background and lines.
Curves and Overlays
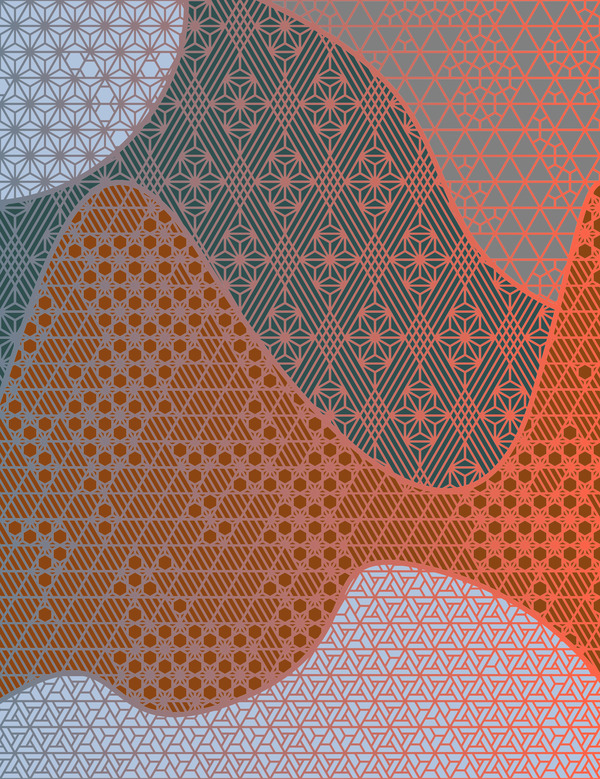
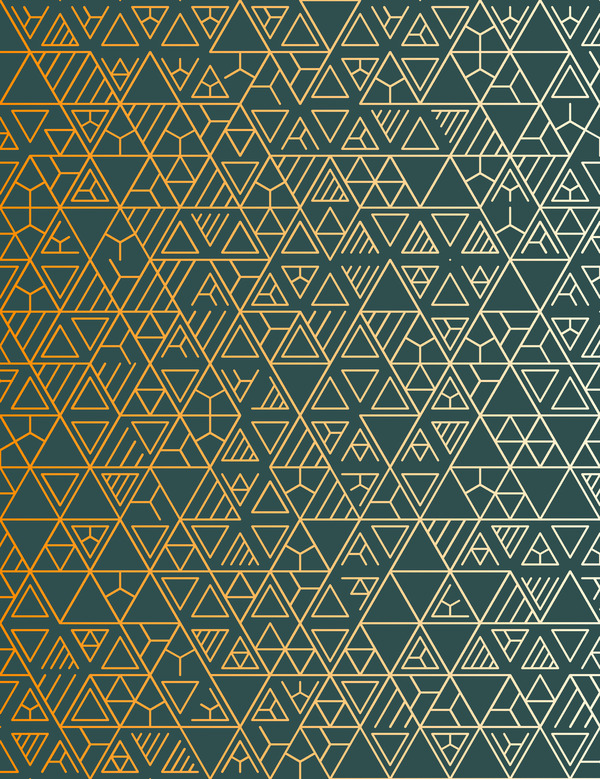
Another benefit of using AggDraw is support for drawing Bezier curves with the Symbol object. This accepts an SVG-like pathstring and an AggDraw Pen or Brush object (a Brush fills the area of a shape, while a Pen does not). The Brush is useful for erasing/masking large areas of an image to make room for an overlay of a different pattern. Using some rather involved sectioning logic, I can feed a bezier curve into two layers and erase opposite sections. When the images are combined the curve shows as a separator where two different patterns can exist in what would otherwise be the same cell in the grid
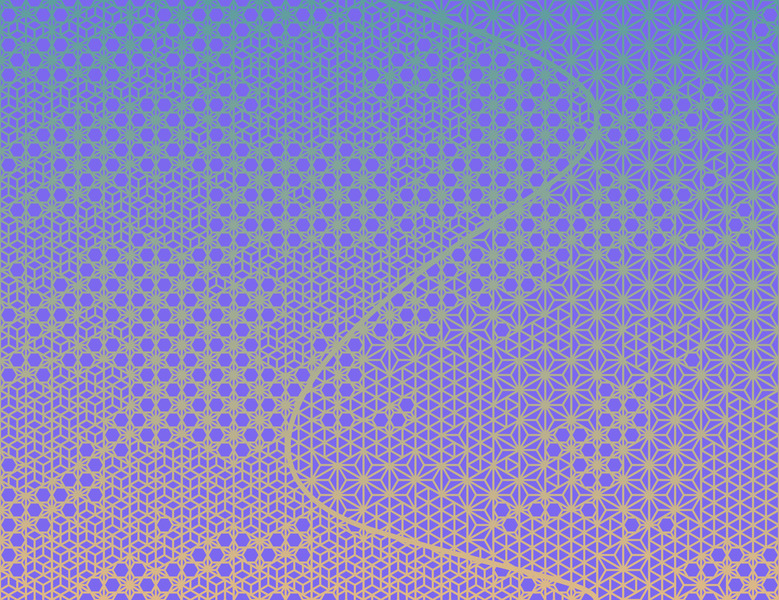
With this approach, each section is created and added to a background individually, so different sections can also have different foreground colors. If there are multiple curves, the masking process can allow for collisions as long as collisions are accounted for thoughtfully. Some sections of the image may need to have multiple curves drawn in order to achieve the proper mask.
Currently, I am limited to using curves specifically constructed for an image of pre-determined dimensions. Eventually I would like to figure out how to create small, generalized curves that can be scaled, rotated, and translated to fit into an image however I want. So far I haven’t been able to find a straightforward way to do this even though SVG pathstrings should be compatible with the idea. This is the only thing holding me back from pursuing images with more detailed curves and more complicated sectioning. I would also like to find a way to make the curves aspect generative, but my current approach requires a fair amount of planning that I believe will be difficult to simplify.
Double Masking
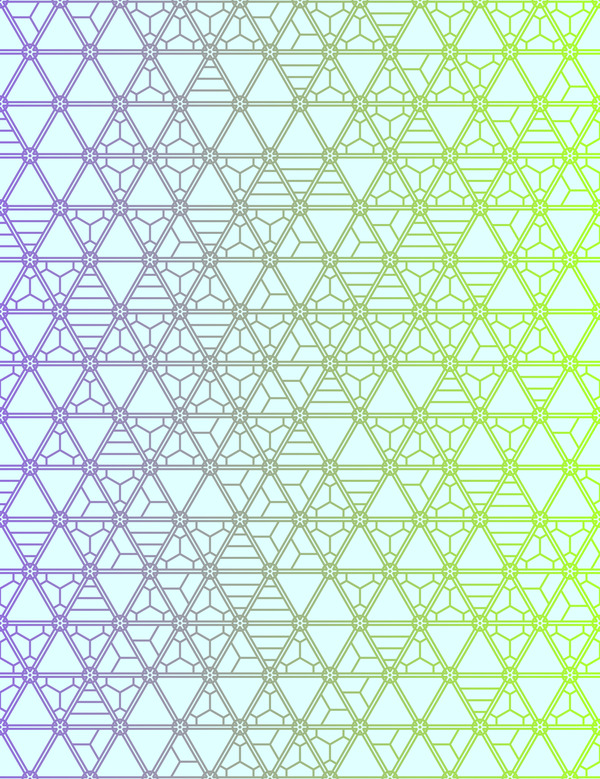
Something interesting happens when using two masks in the same area. The idea here is like stacking two stencils on top of one another, then filling in any area that is still exposed. In the kumiko case all of the stencils, or patterns, have the same basic shape. The similarity between base patterns produces some intriguing emergent patterns when combined via double masking.
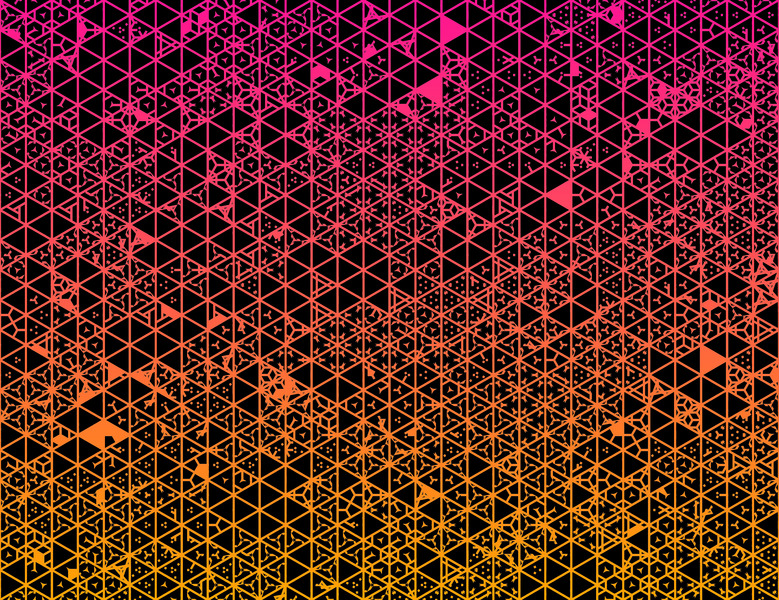
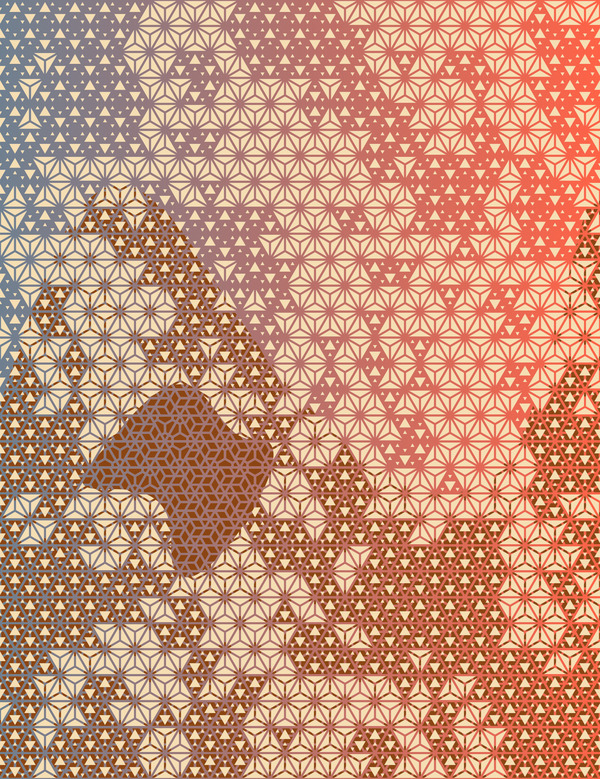
The image above is achieved with both masks using the same black foreground, but if the foregrounds are kept separate and the colors are different, the result is more like a layering effect.
SVGs and Animation
As I became more interested in generative art, I found a local community of generative artists and was fortunate enough to be invited to run some of my art on a pen plotter for an event. I had to learn a bit about how pen plotters work, but it was fairly easy to modify my program to write to SVG format instead of just drawing an image. Because of the way I chose to create curves and sections I wasn’t able to convert the latest iteration of the program to SVG, but the standard kumiko output works just fine. I wasn’t the only one running plots, so time was a consideration for that reason, in addition to just wanting to be efficient. Once I had an SVG with duplicate lines skipped, I ran it through vpype with vpype read <input_file>.svg linemerge linesort reloop linesimplify write <input_file>_optimized.svg to optimize it for the pen plotter. From what I understand, this finds lines that are connected and lengthens the path for the pen in order to minimize direction changes, pickups, and other inefficient movements. It’s not perfect, but it’s certainly better than drawing each line individually, as would have been the case with the raw output. Interestingly, I find that this introduces a new pseudo-random aspect. Patterns emerge and disappear at various times during the plot, but at any given time there is something cool about the unfinished portions that suggest the shape of what is to come. I would like to find a way to replicate this in the code with some degree of control.
I have wanted to try doing some kind of animation with these images for a while, and it turns out SVGs are pretty easy to animate. There is an animation here. It seems to be a bit too resource-intensive for it to make sense to include directly on this page, hence the reason for the link. I’m pleased with how this looks, but I definitely want to explore animation more.
Some Other Experiments
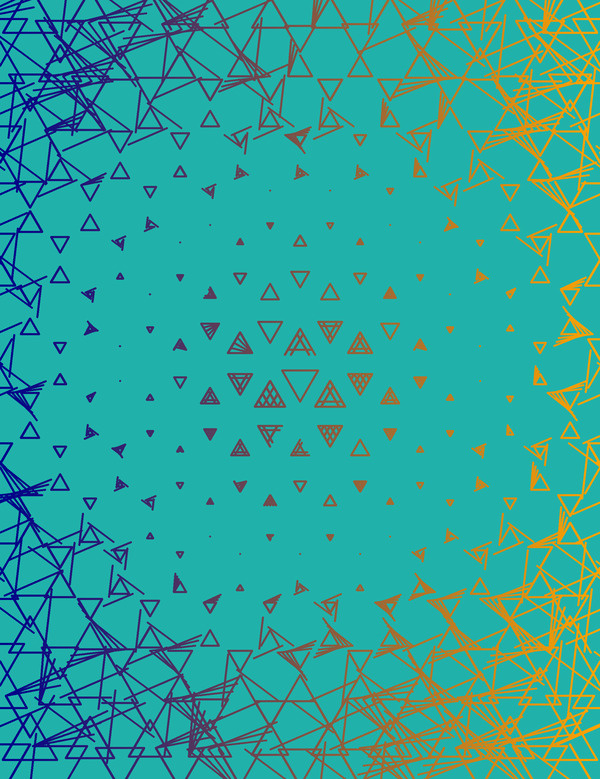
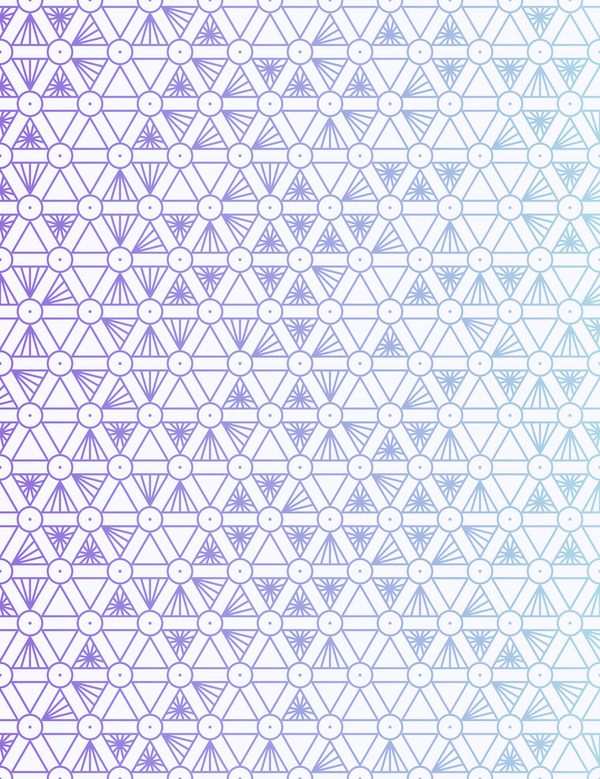
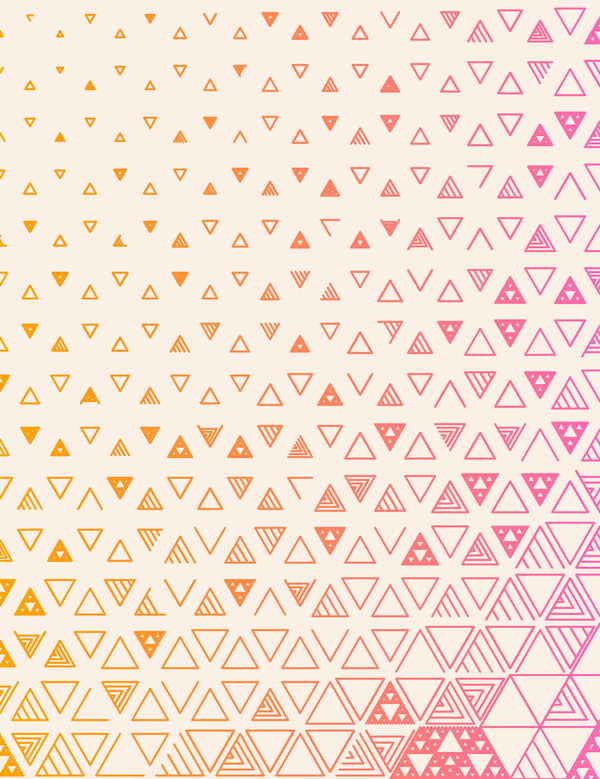
When I wasn’t working on the things above, I did a lot of playing around with triangle sizes and adding circles. Here are some of my favorites.
What’s Next?
There are still a lot of possibilities to explore with this. Before I get too deep into the ideas I mentioned in this post, I’d like to switch gears a bit. I want to try creating some art with flow fields, partly to see what happens, but also because I have some ideas for complimenting the kumiko project with more interesting foreground data. I have started to mess around with flow fields already, but the techniques involved are much different. Hopefully I’ll have something interesting come out of it soon.
Thanks for reading.