I am by no means an audiophile, but like anyone else I appreciate good sound. In addition to standard music enjoyment, I record and mix my own music from time to time, so I decided that it made sense to get some decent speakers. Professional studio monitors seemed like overkill and they aren’t really designed for regular listening, so I tried to find some commercial speakers with a reasonably flat response curve. Unfortunately, quality options quickly get very expensive, so I started looking into building my own. This made a lot of sense for a few reasons. One of the biggest benefits of the DIY approach is that it allows for higher quality components relative to the cost when compared to industry-manufactured speakers. In other words, a $100 set of DIY speakers could easily perform as well as a much more expensive store-bought set. The other main benefit, at least in my opinion, is the fun of the project and full control over the final form. On the other hand, full control could be a draw-back depending on how well the build is executed, but it’s fairly easy to end up with an acceptable result without much expertise.
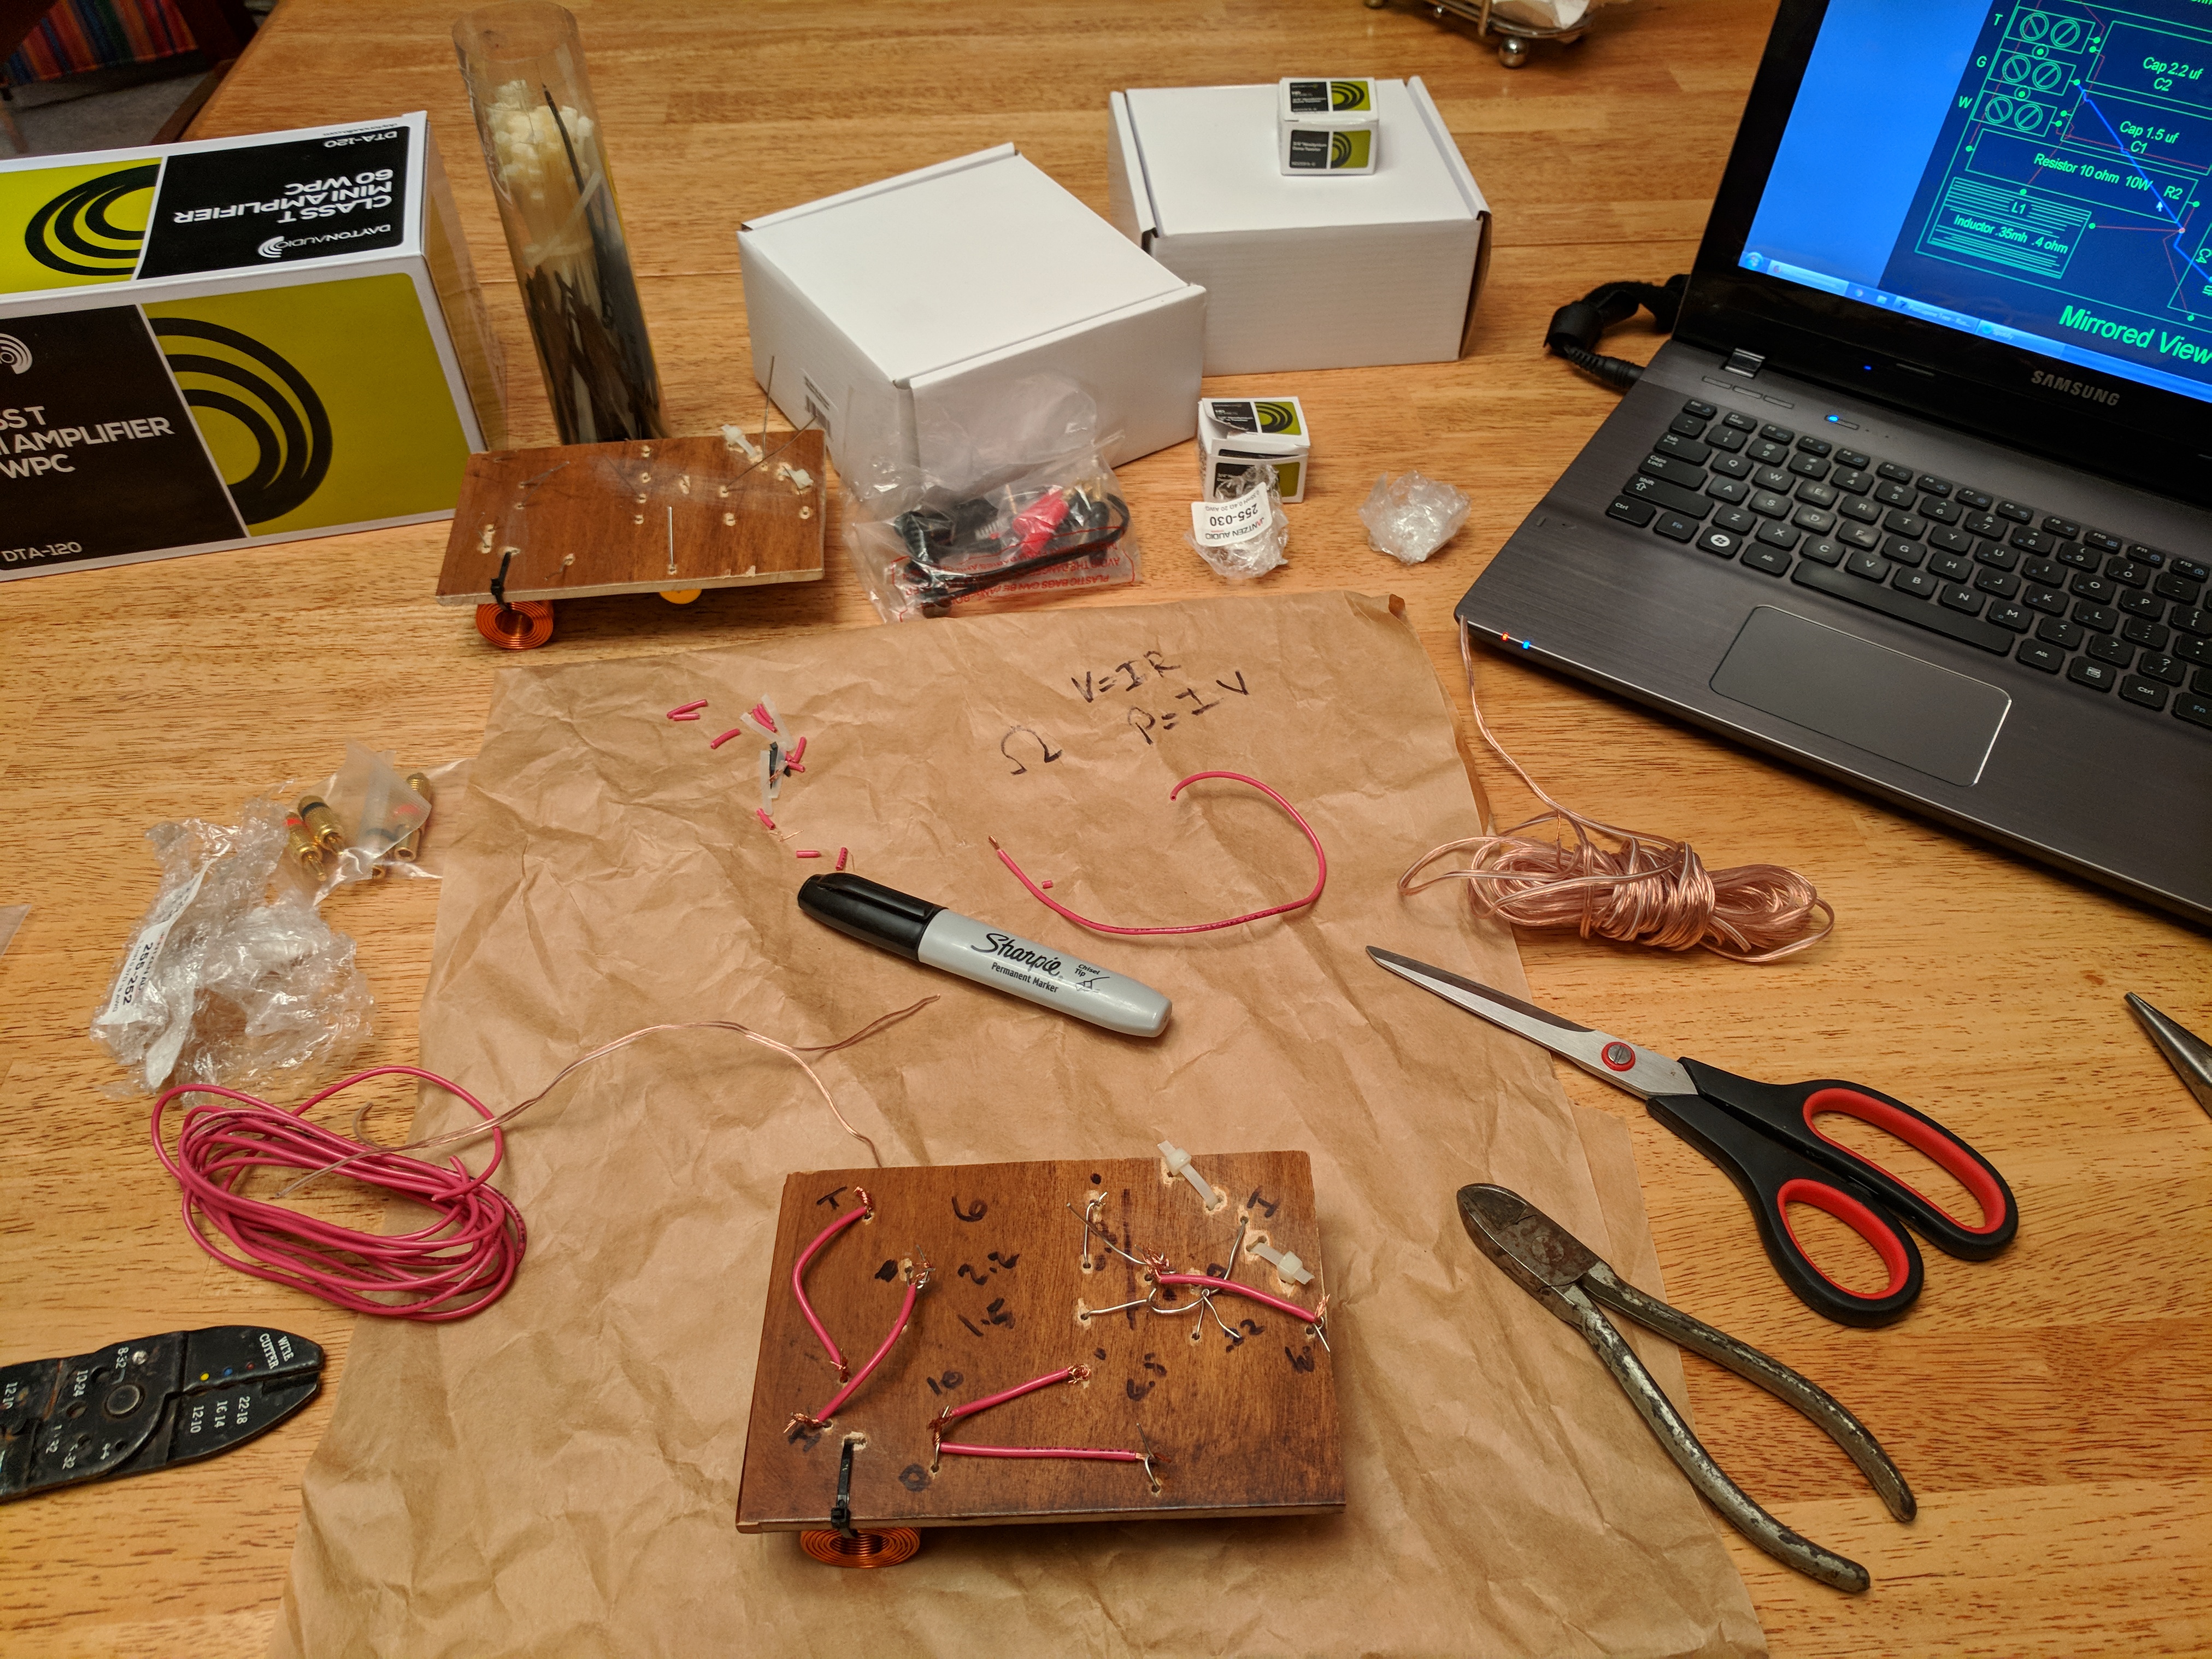
I decided to build Paul Carmody’s Overnight Sensations. There are different levels of DIY, but I didn’t have access to the resources to cut the panels myself, so I used a kit from Parts Express. I also had to buy a few other components, like jacks, speaker wire, and this amplifier.
I started the build while staying with relatives for a weekend. It’s nice to know someone who will let you use their garage and tools! I was disappointed to open the package for the first time to find that one of the face panels had a patch in it, but I proceeded with the build since I wasn’t going to have the opportunity to access some of the tools again for a long time. It might not have mattered if I had painted them, but I wanted a natural finish. In retrospect I wish I had postponed the project to exchange the wood, but I don’t notice it as much as I thought I would. It didn’t end up being the only problem since I introduced some other imperfections myself. Someday I’ll do a better job building a new set or potentially rebuild the cabinets with reused components. In any case, I don’t think any of the cosmetic issues have a significant impact on the sound quality.
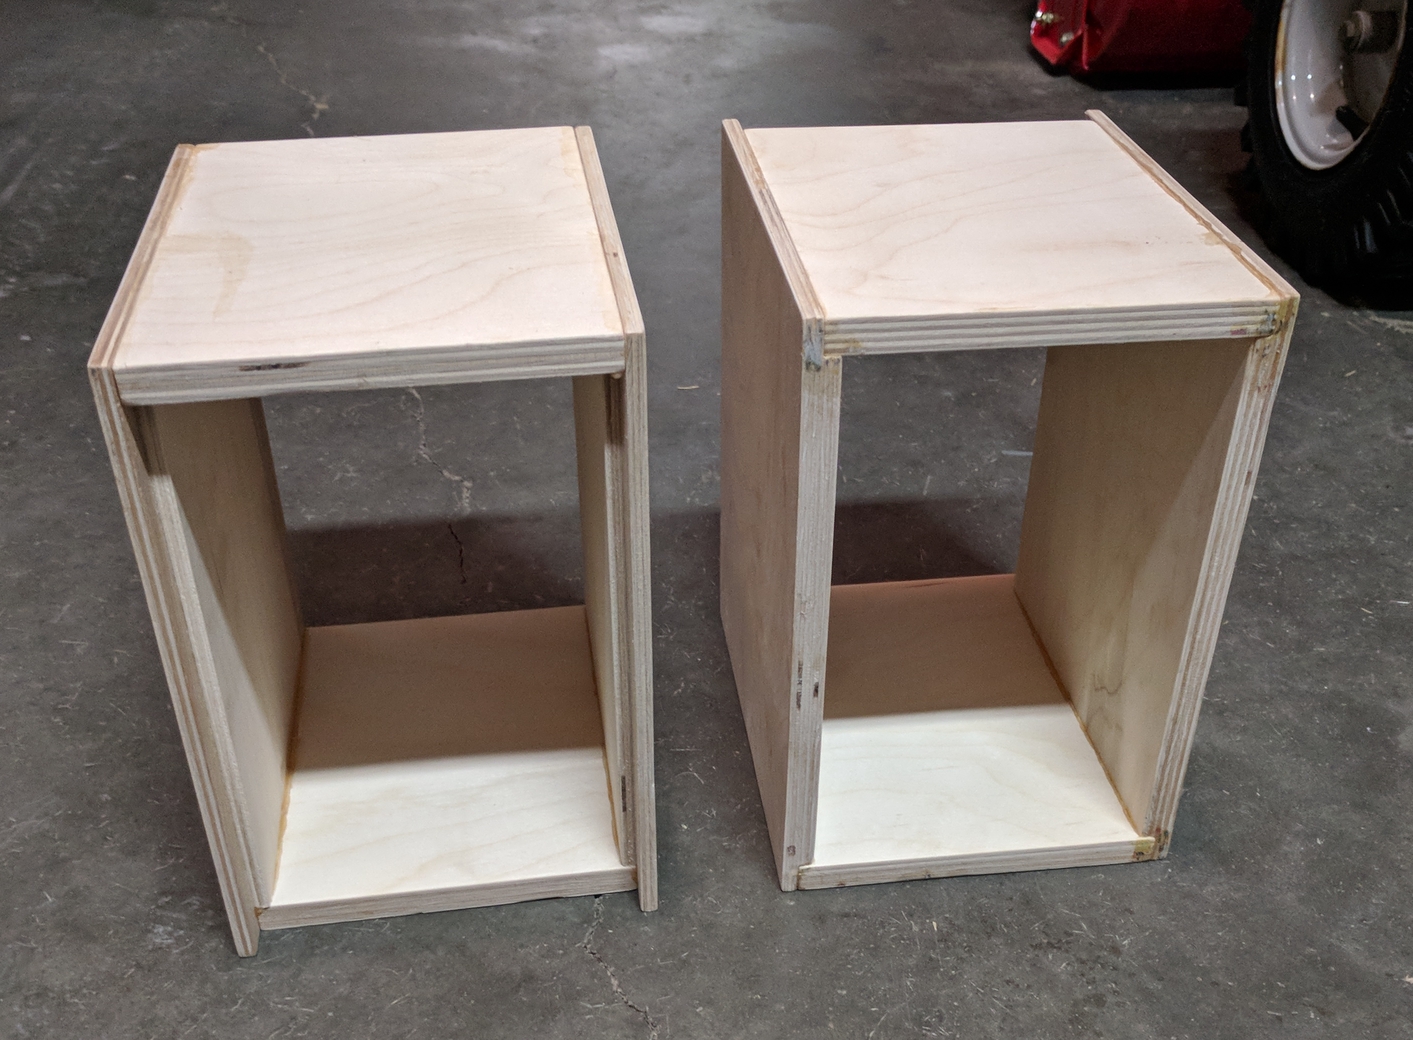
Starting off, I glued the sides together. My clamping technique wasn’t perfect, so I ended up with slightly non-square cabinets. I also used too much glue.
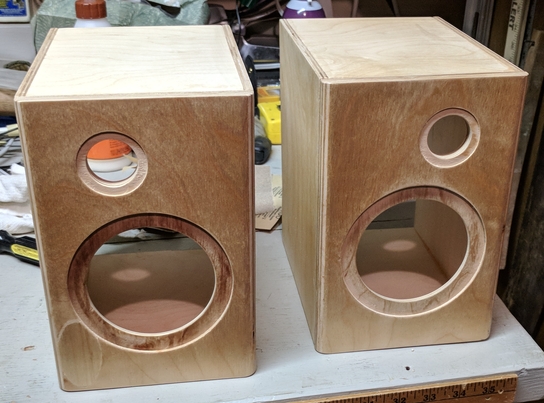
I applied a few coats of clear spray-on lacquer. I probably should have doubled or tripled the number of coats, but I was pressed for time and the finish ended up being good enough once it dried.
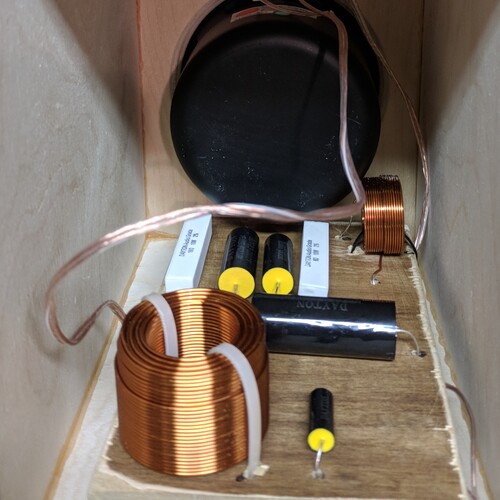
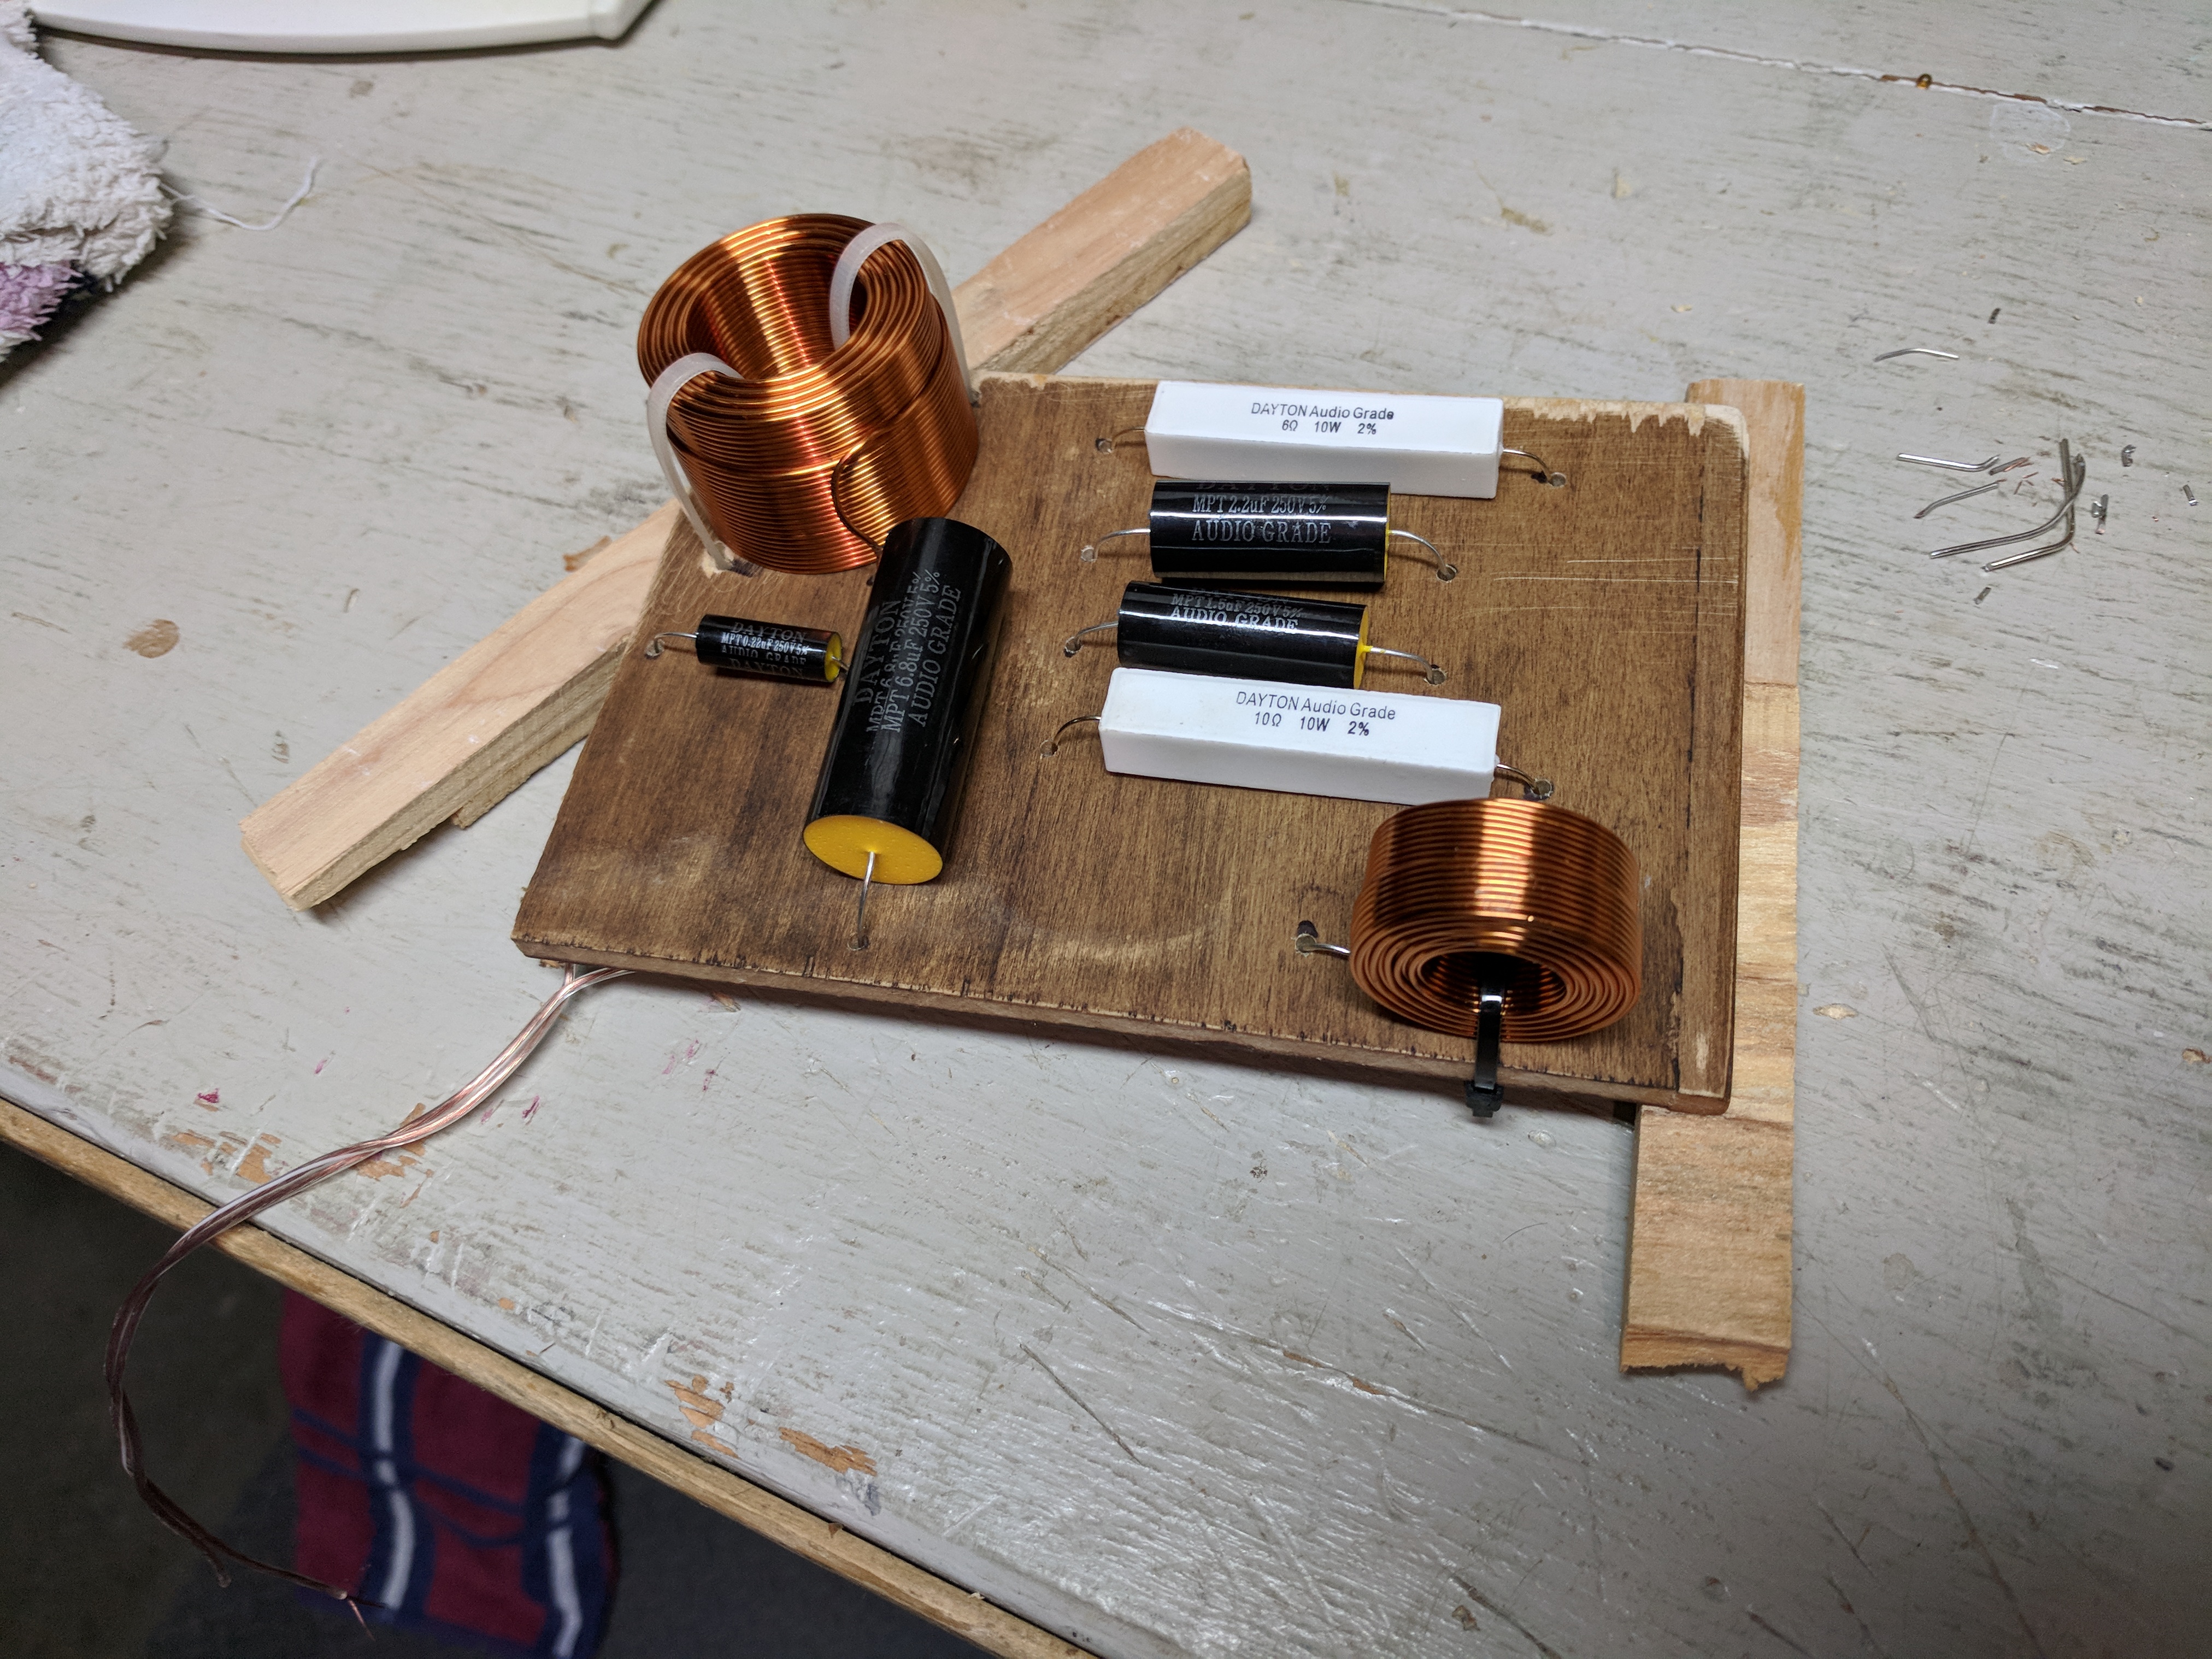
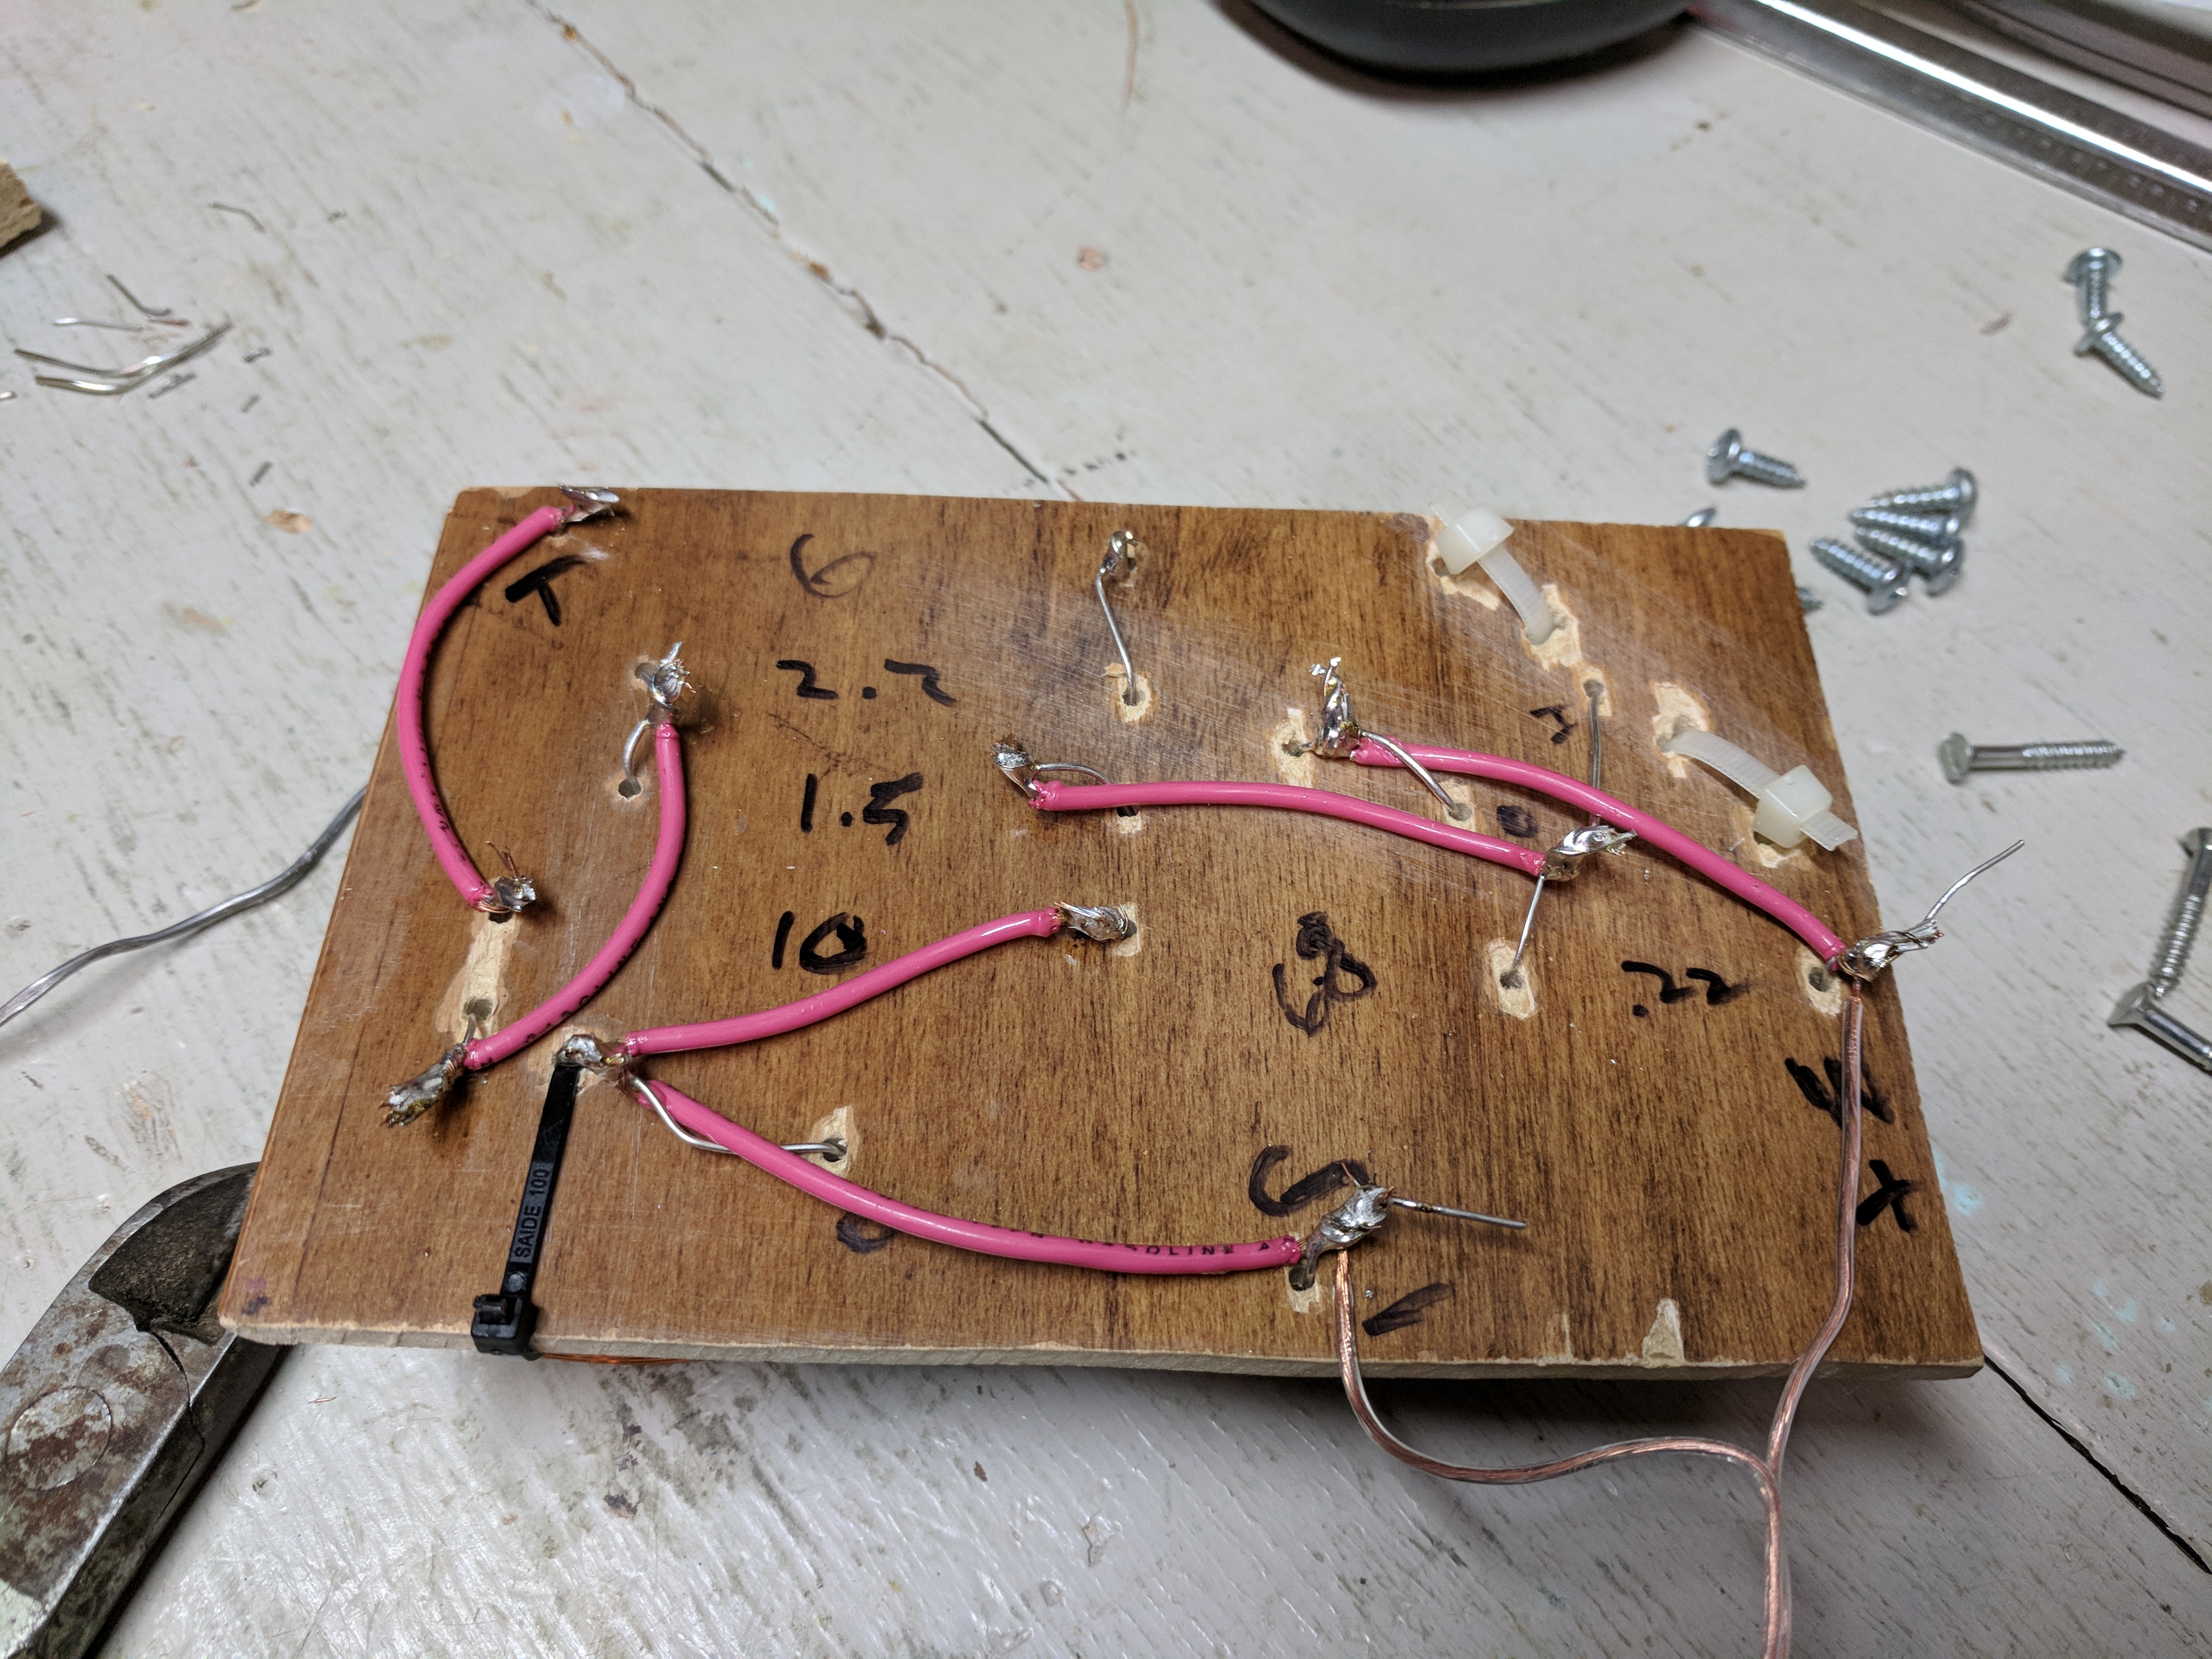
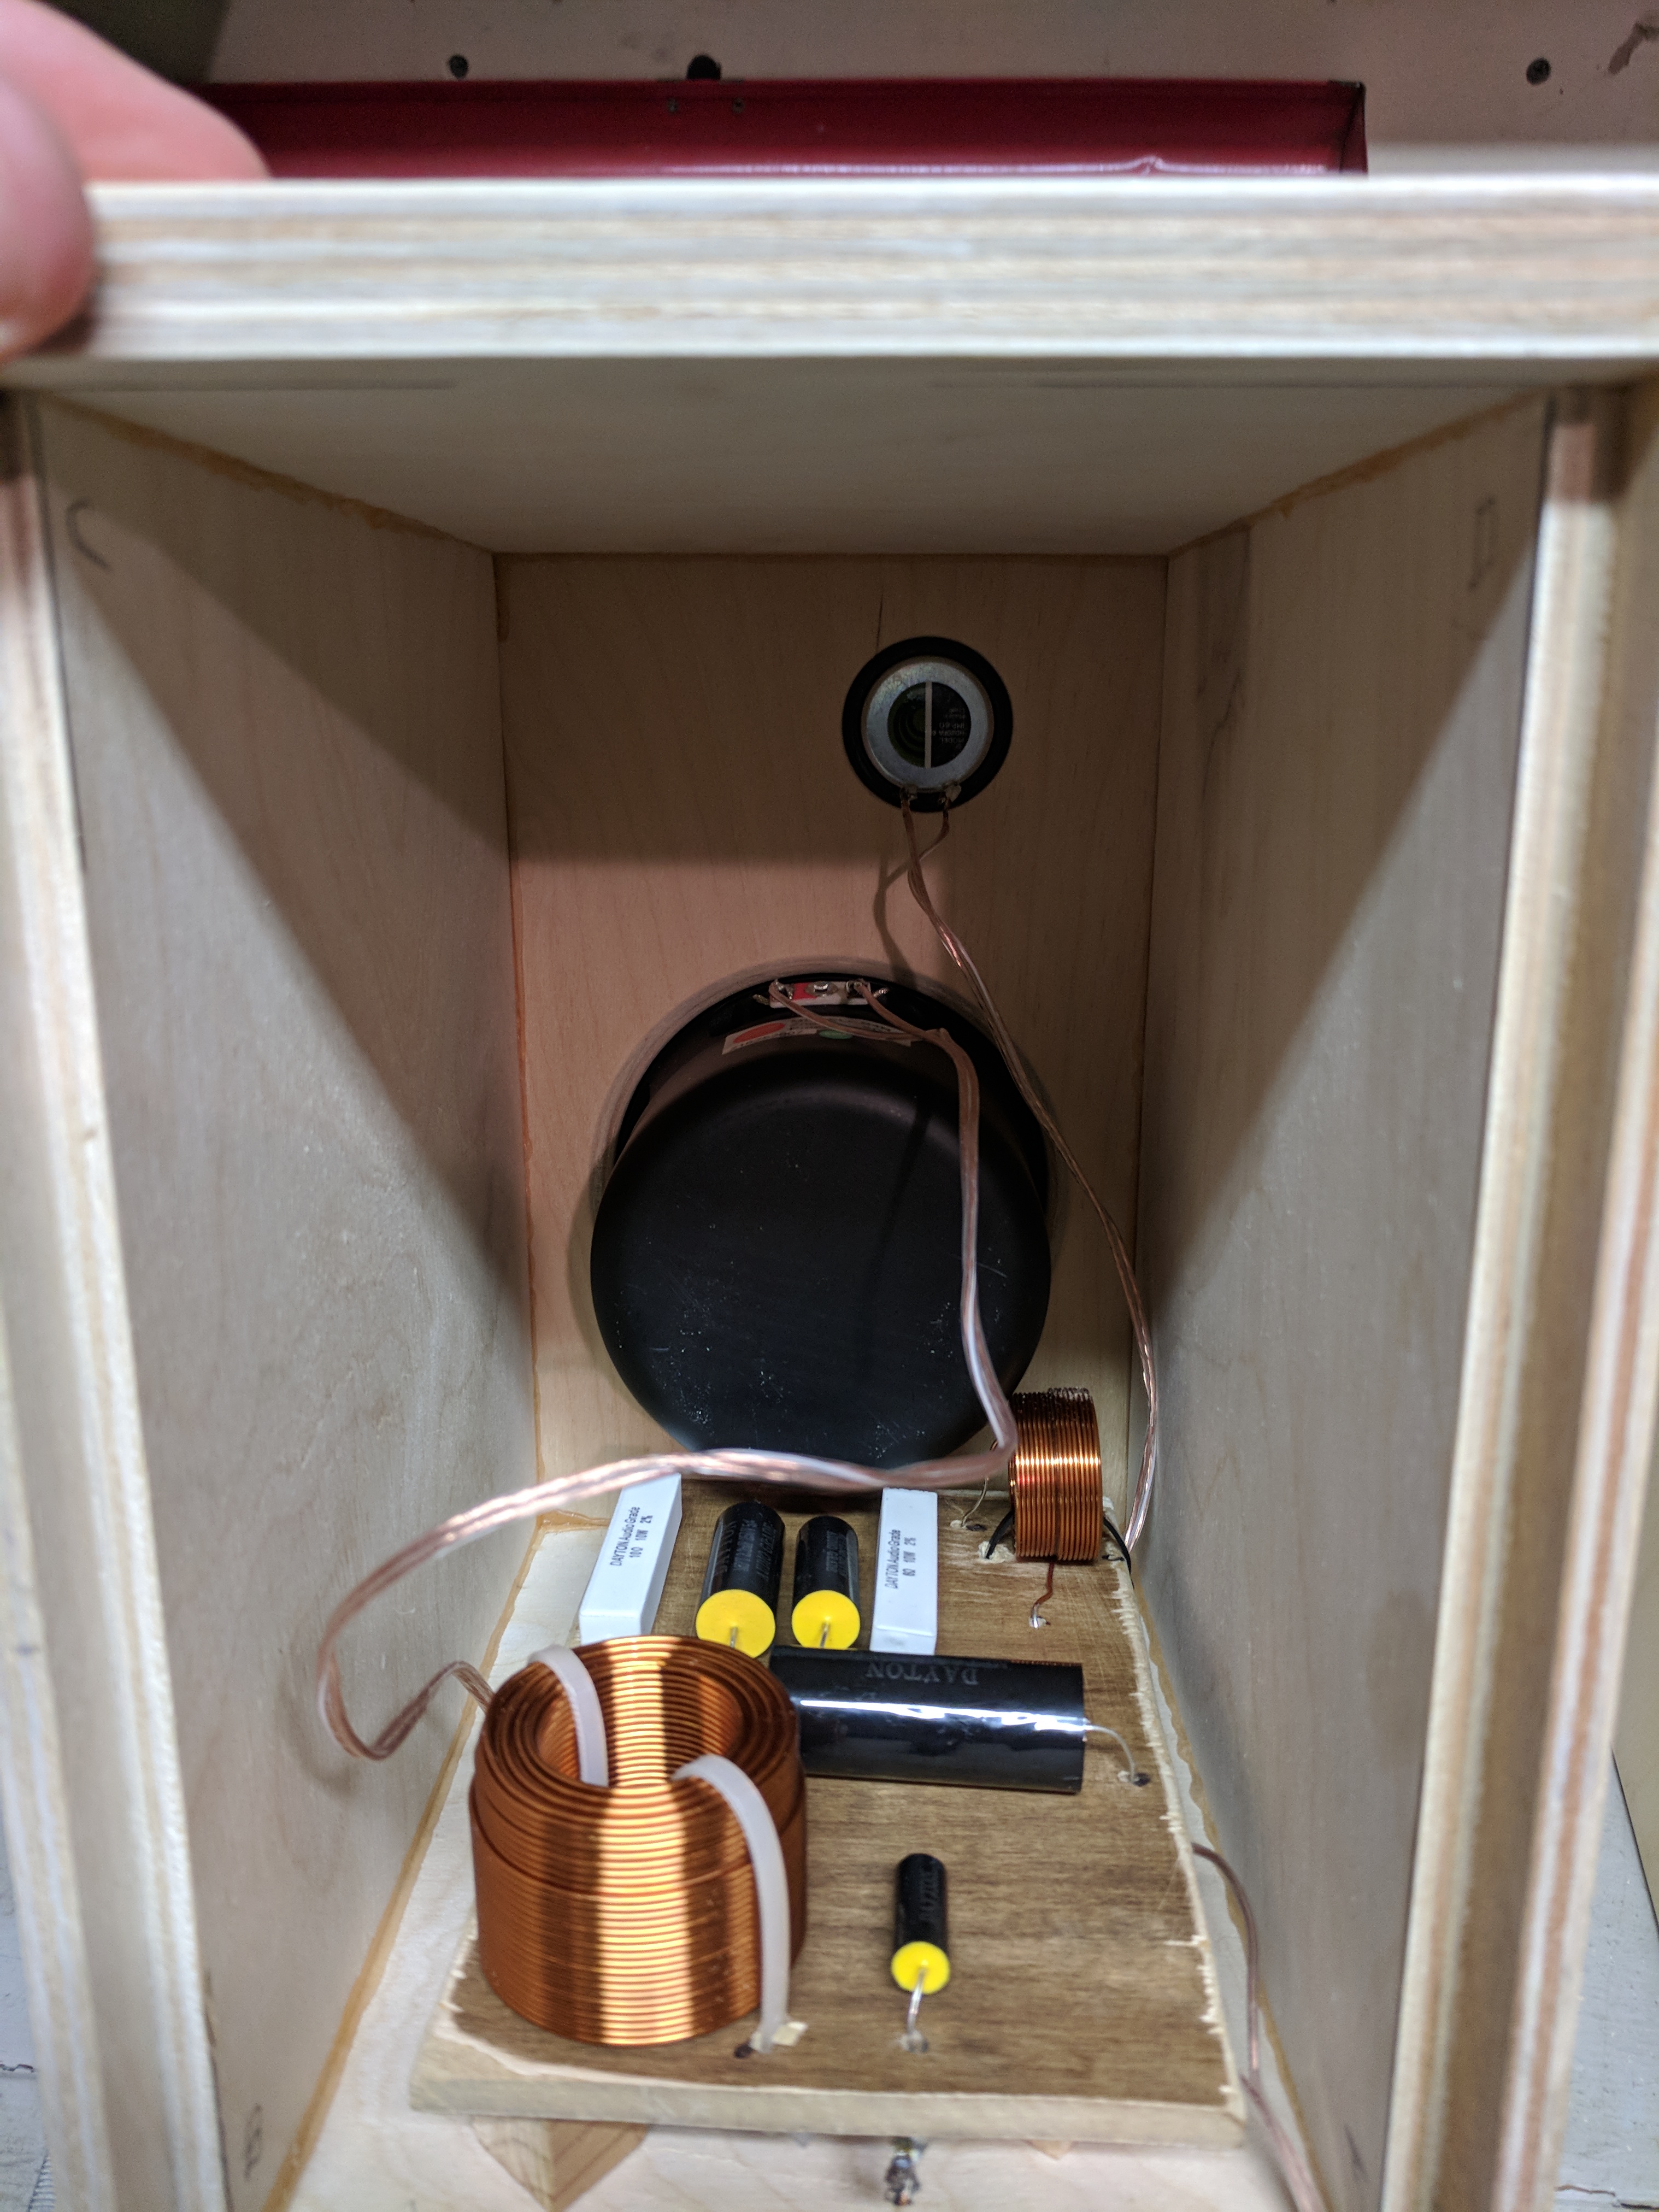
My kit didn’t come with any PCBs or pre-made panels for the crossovers, so I cut some scrap wood and drilled holes where needed.
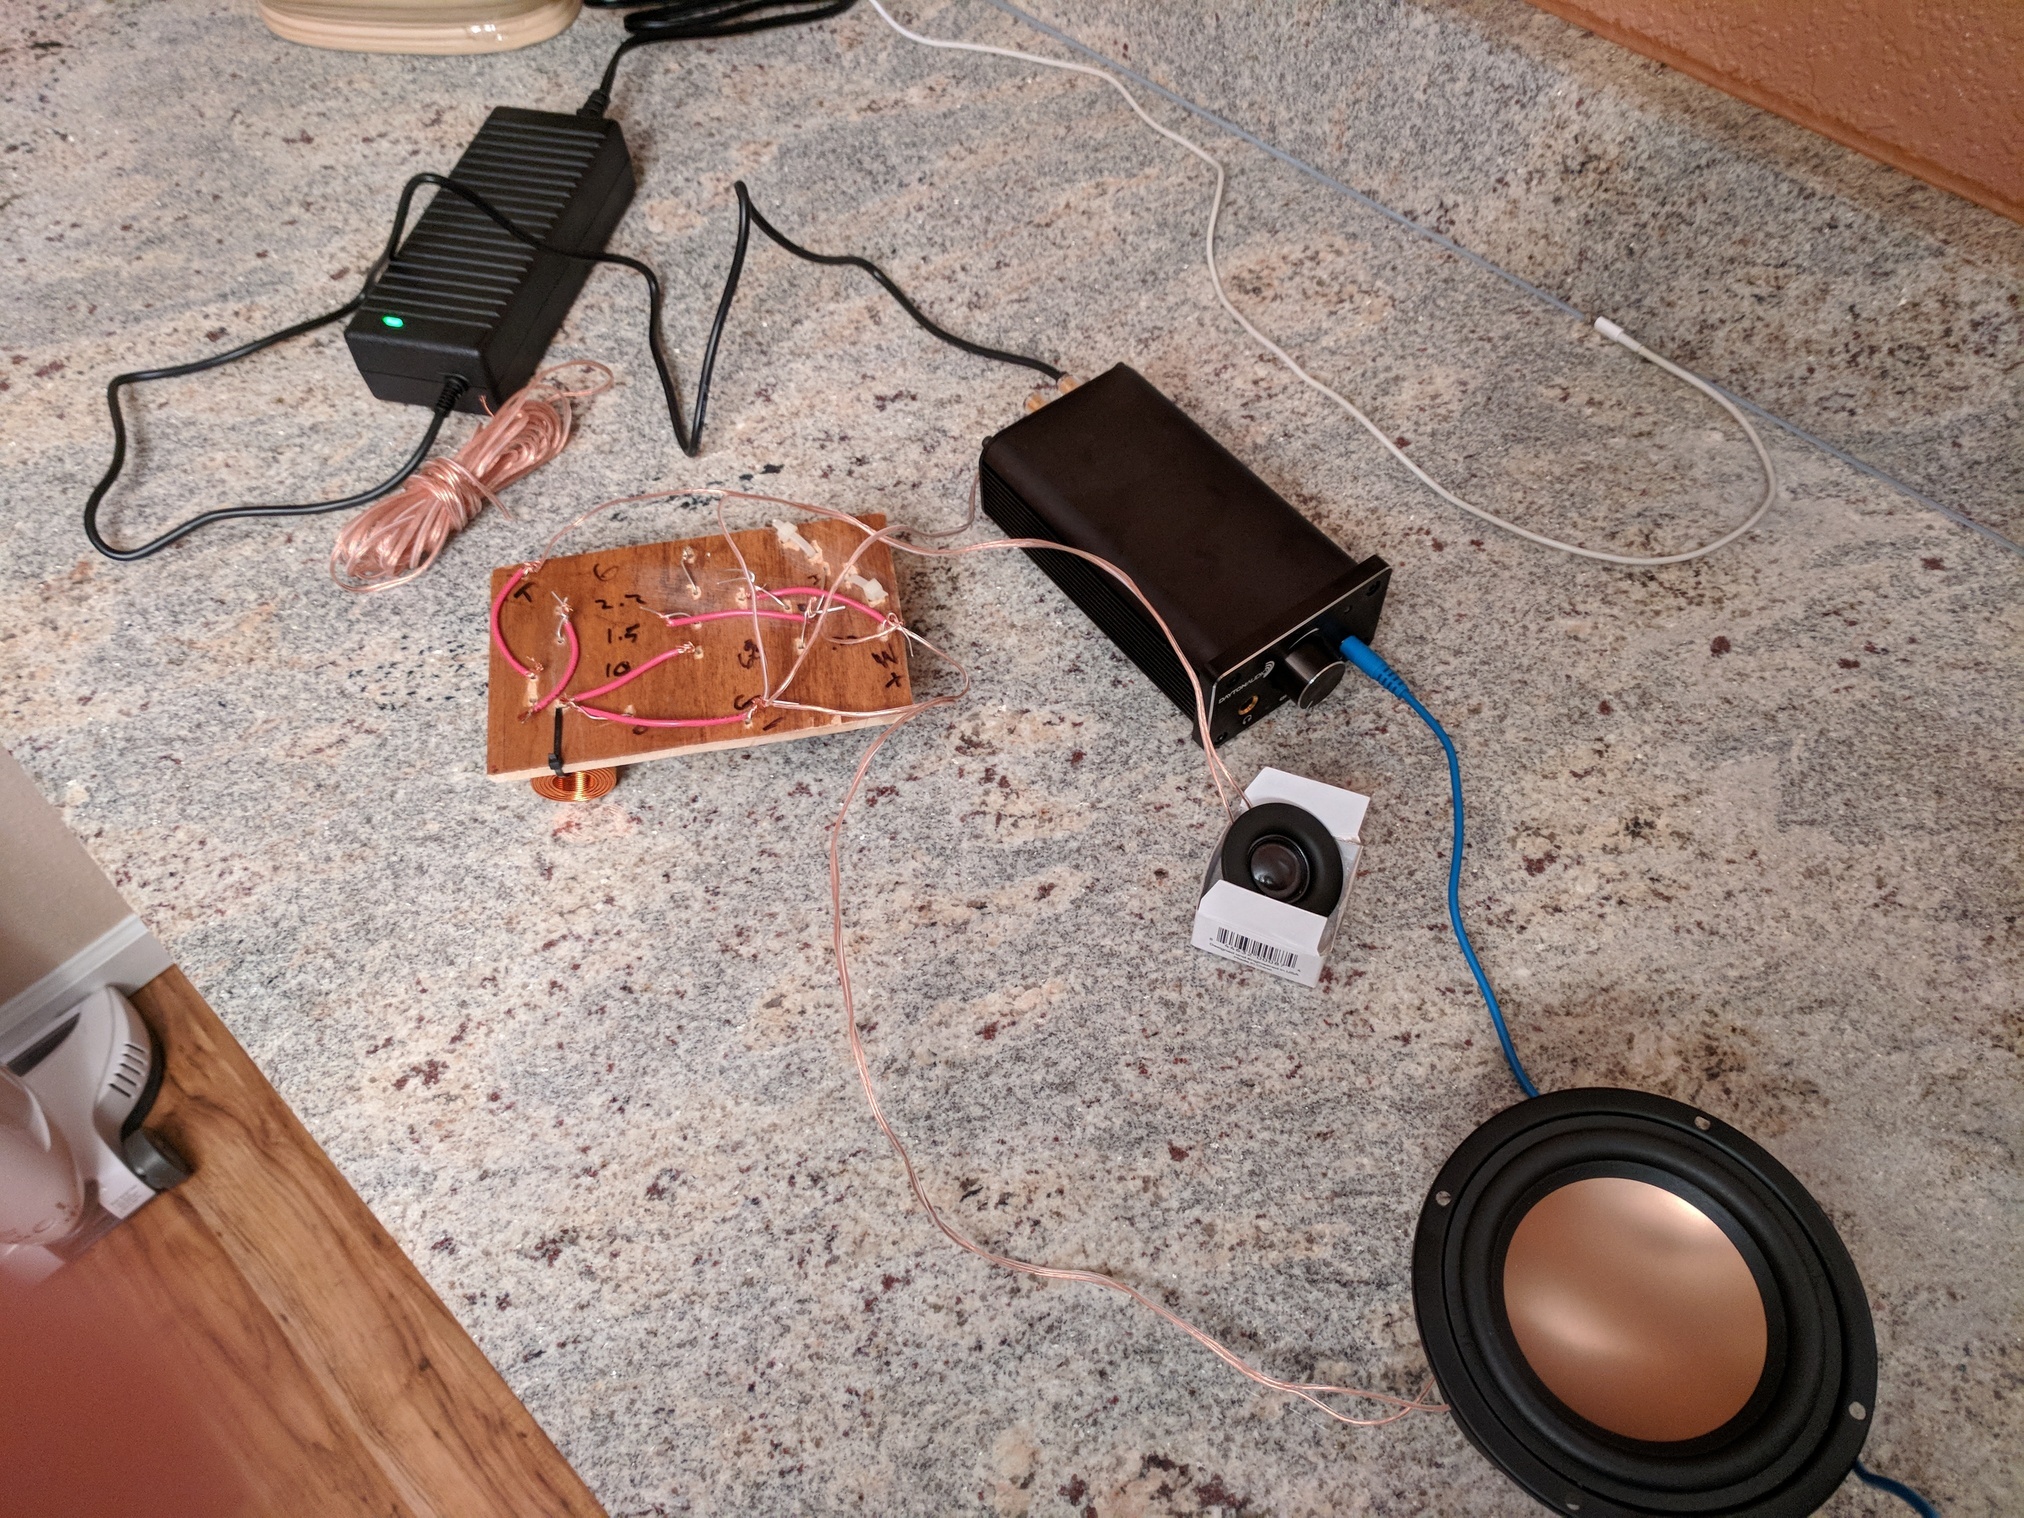
The next step was to hook up the speakers for a test. Everything checked out.
Soldered and finished crossover:
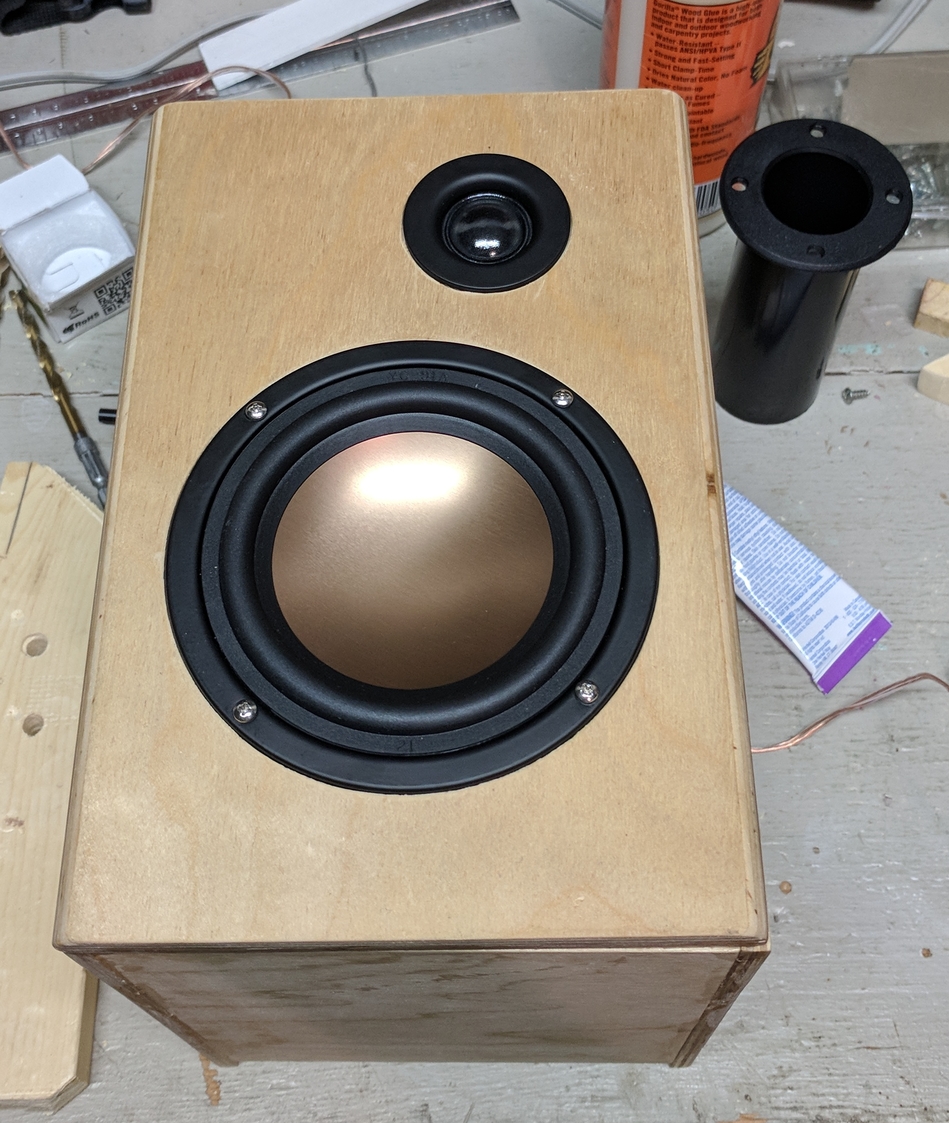
Putting the speakers into the cabinets:
I then cut some more scrap wood to make stand-offs for the crossovers, hooked them up to the speakers, and glued them into the cabinets.
One more test before gluing on the back panels (I know they’re on the wrong sides :)
Crank the volume and queue Nangs by Tame Impala, then some Steely Dan.
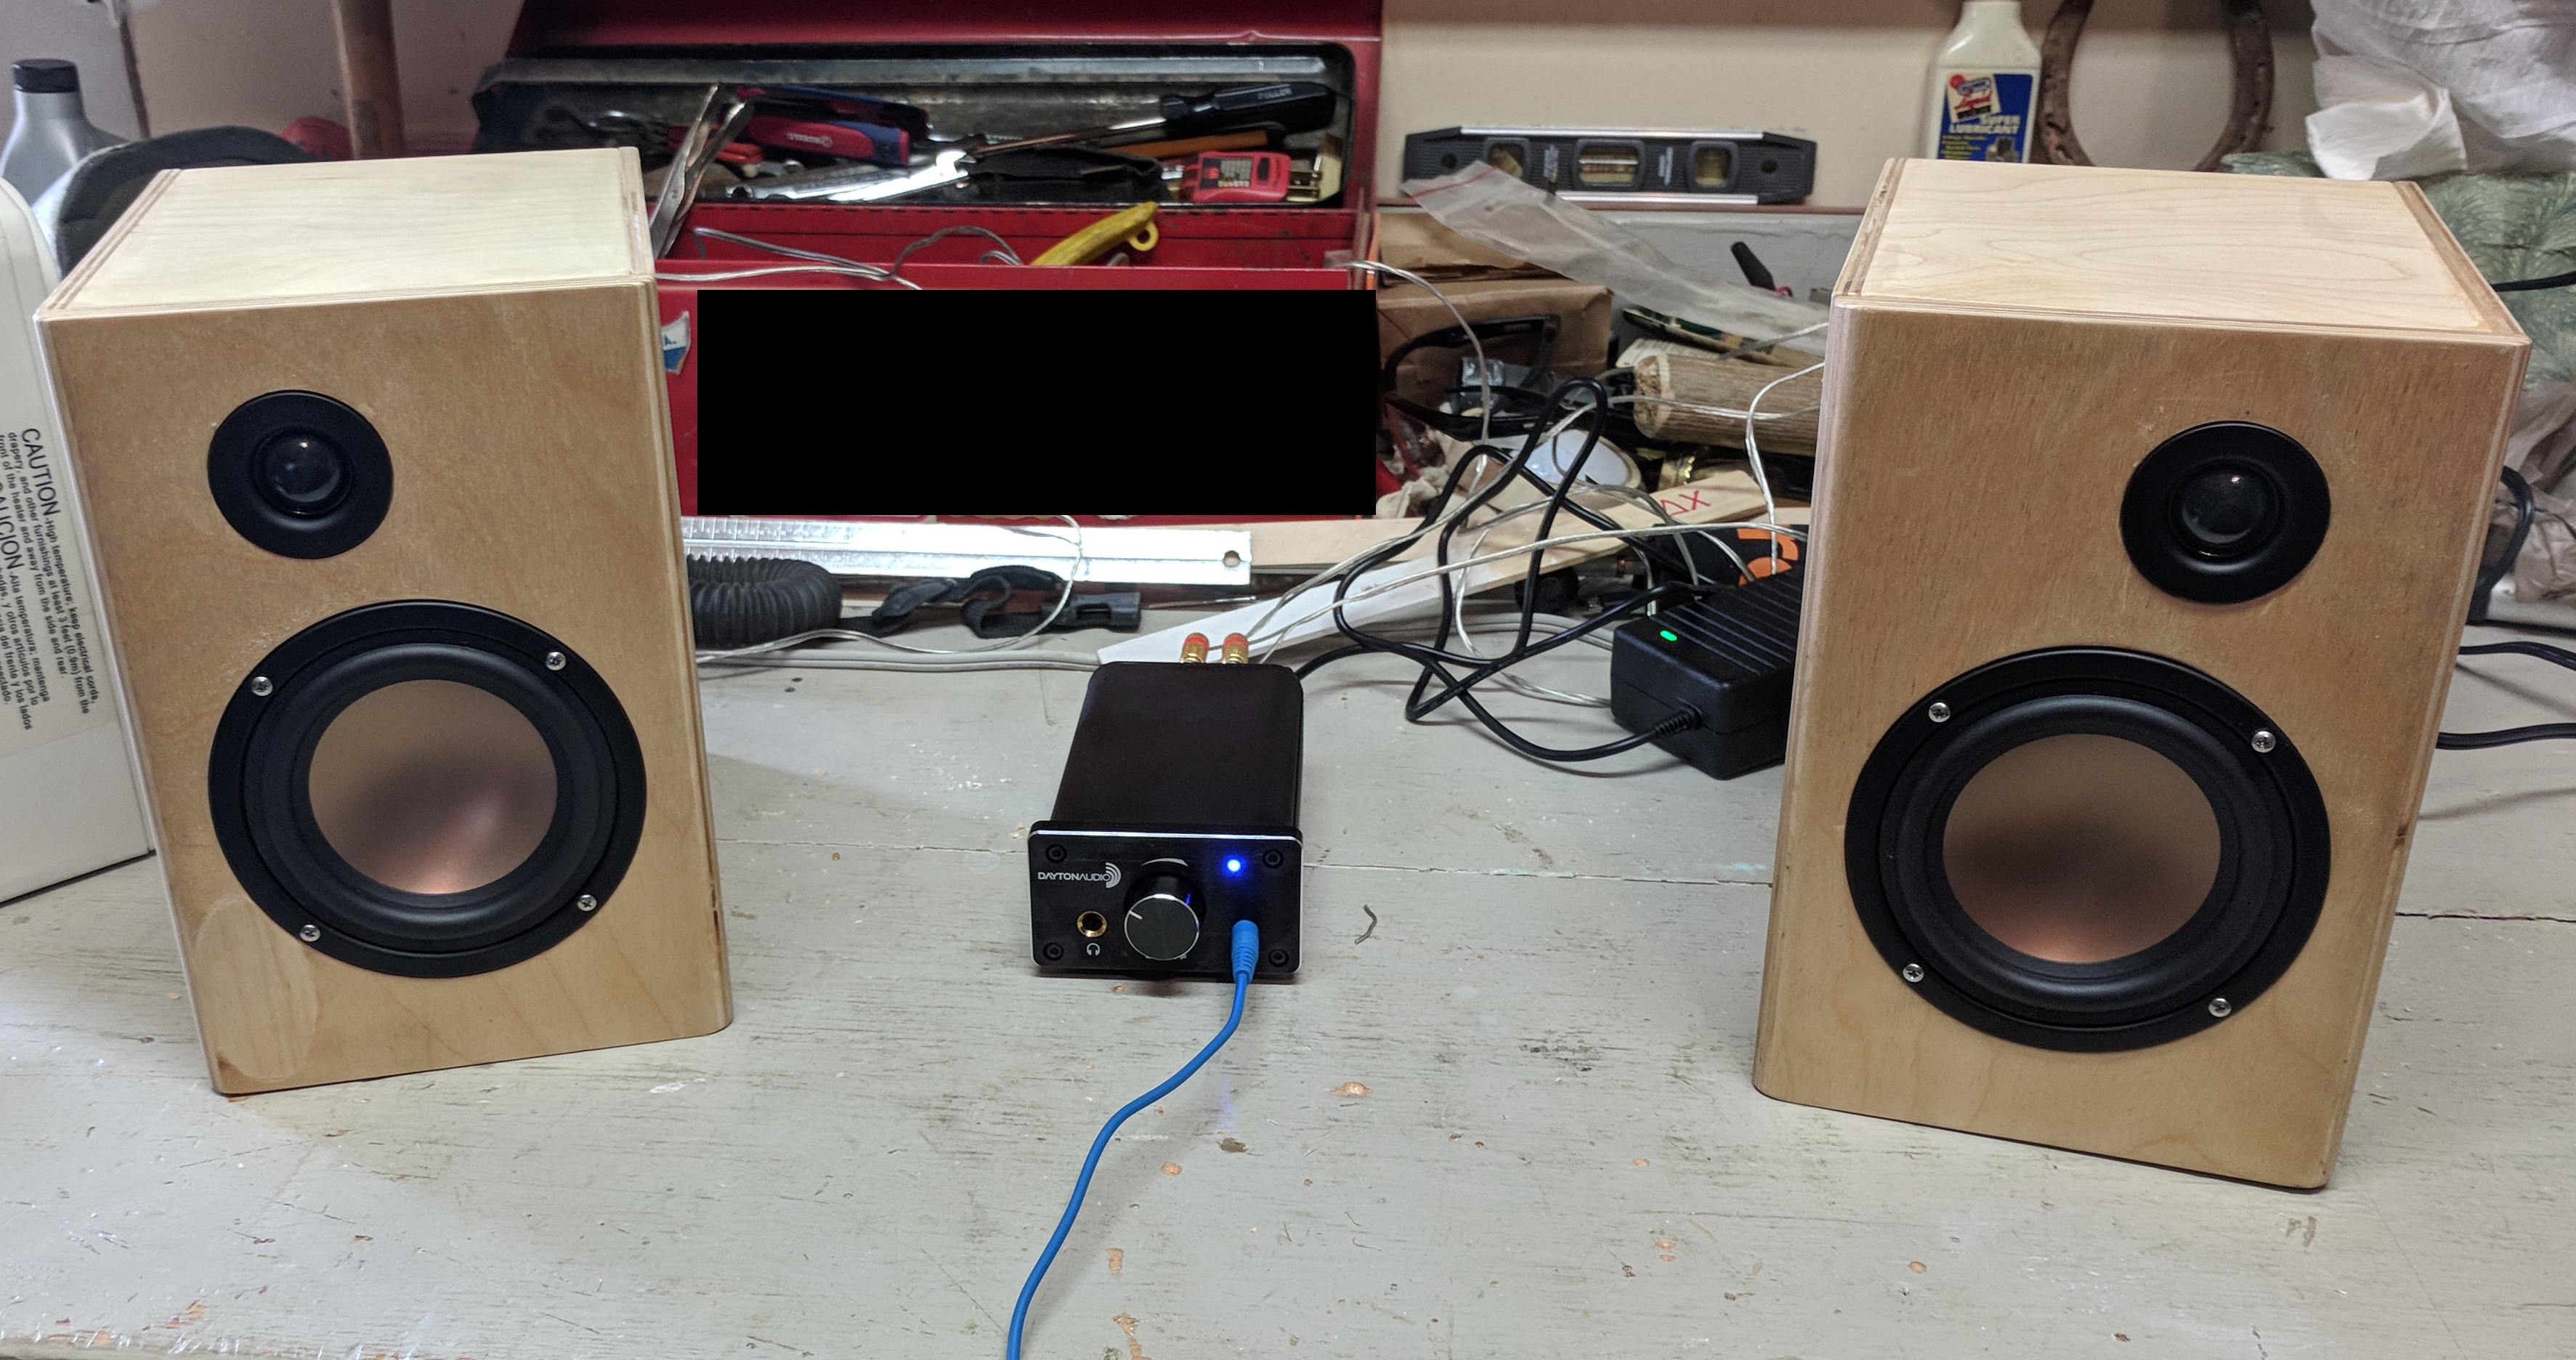
They aren’t the prettiest, but they’ve been amazing to listen to.